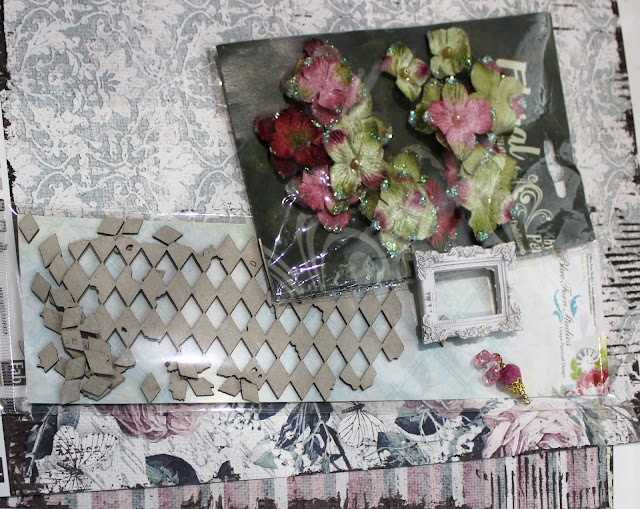
Hi everyone, Today I am sharing my Step by Step Tutorial for March for The Scrapbook Store, using the gorgeous FabScraps ‘Vintage Elegance’ Collection which I received in my parcel of goodies.
This range is has a beautiful mix of florals, damask, script and stripe patterns, with a gorgeous shabby chic feel to it, which is right up my alley. I have complemented the papers with pretty pearl accents and a touch of lace in a simple design, with a smattering of fussy cut elements, which is one of my favourite techniques. To keep the focus on the beautiful papers, I only slightly altered my background with a touch of stamping and lightly flicked mists in several colours. Would love to see some of your layouts inspired by this beautiful Collection in our gallery!!
Cut 6cm
strip from bottom of FabScraps ‘Love is in the Air’ pp and ink edges in pastel
blue Prima Chalk Ink.
Cut 2 x 30
cm lengths of white scalloped lace and adhere to top and bottom of paper, then
adhere this piece to the stripe side of the ‘Paris’ pp, leaving a 3cm section
showing on the top and bottom.
Randomly
stamp the background with Kaisercraft Script Background Stamp in Watering Can
Ranger Archival Ink, then flick over with winter grey and charcoal
Kaisermist.
Spray one or
two spritzes of the Candy Kaisermist onto a non-stick craft sheet, then mix in
a little of the Peony Scarlet Red Mica from the Lindy’s Stamp Gang Prairie
Wildflowers Magicals Set. Randomly flick
over the background.
Cut the Blue
Fern Studios Tattered Diamonds Bits into smaller sections and coat with
gesso. Dry off, then paint on the
premixed mist onto your chipboard pieces.
To create dimension, add more colour in random spots. Once dry, lightly stamp over with Kaisercraft
Script Stamp.
Fussy cut
flowers, leaves and butterflies from the left over piece of FabScraps ‘Love is
in the Air’ pp. Paint the tips of the
fussy cut butterflies with the pre-mixed mist and embellish with pearl brads.
Diecut the
larger frame from the Kaisercraft Rectangle Fancy Frames in Kaisercraft Neptune
cardstock. Cut down your photo to fit in
the frame and adhere.
Using the
picture as a guide, adhere your framed photo, then arrange your fussy cut
elements chipboard pieces and velvet hydrangeas around your photo and adhere
with foam tape.
Adhere the
small resin frame to the bottom right of your photo. Cut the love you words from the Kaisercraft
Clear Sticker Sheet to fit in the frame and adhere. Embellish the frame with a velvet flower,
fussy cut leaf, Prima dangle and charm.
TSS Products Used:
Prima
Marketing – Shabby Chic Treasures - Resin Frames
Other: pearl brads, lace, bee charms,
Prima dangle
Hope you
enjoyed my shabby chic tutorial created with the gorgeous FabScraps
Vintage Elegance Collection.
Until next time.
Happy Crafting
Cathy :)


You simply rock these products! This is such a stunning lay-out!
ReplyDeleteThis is so pretty, loved seeing the steps too...
ReplyDelete