Showing posts with label Clear Gloss Varnish. Show all posts

Tuesday, May 16, 2017

Dusty Attic DT - Precious Layout

Hi everyone,
Cathy here today, sharing a layout I created with a couple of the gorgeous new release Dusty Attic chipboard designs.  OMG how beautiful are the new Mystic Chipboard Frames... I'm in love!!!  they are a wonderful way to make your precious photos sing.
'Precious'
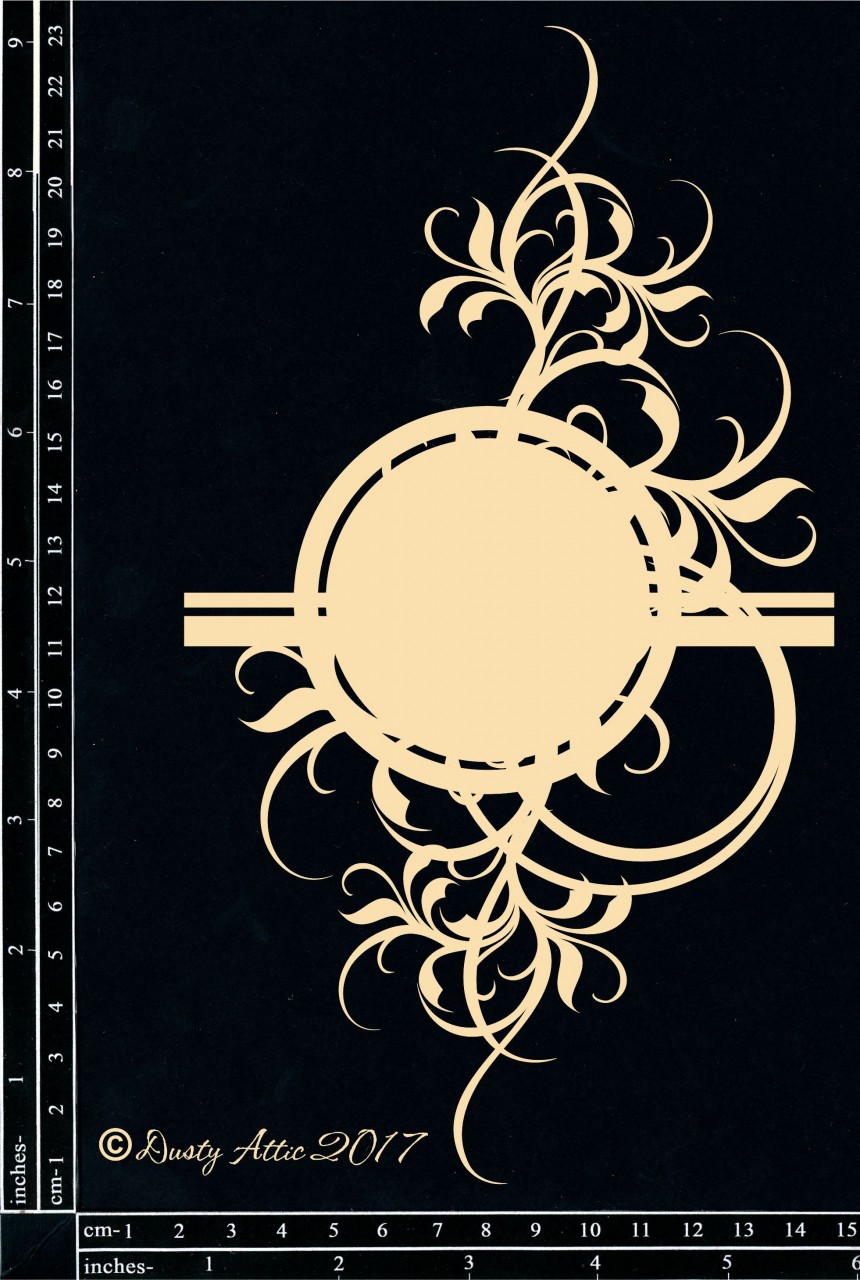
I decided to use both Frame #1 and #2, by using the larger #1 Frame to draw the eye to my photo and cutting the smaller #2 Frame in half for my side embellishment cluster.

 To alter the Frames, I primed them first with gesso, then coated with Viva Inka Gold in Platium for a soft shimmery effect.  The leaves were painted with Dusty in Colour Crushed Olive, then coated with green glitter glass, which I adhered with Dusty Attic Clear Gloss Varnish.

The 'precious' title word from the Mini Words #2 pack was primed with gesso, then coated with Dusty in Colour Crushed Olive and lightly dabbed over with the Mossy Inx to create a lovely mottled effect.
To create bit of contrast and texture, I stenciled my background with the Distressed Diamonds Stencil first with the Dusty in Colour Crushed Olive.   I then mixed Dusty in Colour Texture Paste with Prima Frank Garcia Artisan Powder in French Sage, then repositioned then stencil over the stenciled areas, moved it over slightly, then stenciled with the paste to create a shadow effect.

Why not pop in to the online store to see all the gorgeous new Chipboard and Stencil Designs!!

Dusty Attic Product Used
 

Other Product Used
Blue Fern Studio Sanctuary pp's
Manor House Creations flowers
Stampendous glitter glass
Kaisercraft collectables
Prima Frank Garcia Artisan Powder - French Sage
Metal embellishments
Viva Inka Gold - Rose Quartz, Platinum and Mint
Mixed Media Inx - Mossy
Prima Gesso

Thanks so much for stopping by :)


Sunday, April 16, 2017

The Dusty Attic DT - Romantic Wedding Layout

Hi everyone,

I have my 2nd Design Team project for the month to share created with gorgeous Dusty Attic chipboard and product.  My page was inspired by one of my wedding photos, taken back in the day... seems like such a long time ago, as we have been married 31 years and are still going strong!!
I love to create shabby chic/romantic pages and wedding photos are perfect for this style of scrapping.  To give my layout a soft and romantic feel, I used creamy white to highlight the pretty pastel pink and green patterned papers.

 My background was created by first misting with Lindy's Cotton Candy Starburst Spray, then masking with the gorgeous Dusty Attic Lace Stencil and Dusty Attic Texture Paste.  The lacy stencil is just perfect for romantic/wedding/shabby chic project... oh so pretty and delicate!!

To tie in with the soft and dreamy feel of my layout I coated the chipboard pieces with Gesso, then randomly highlighted with Diamond Dust and pink seed beads, which I adhered with Dusty in Colour Clear Gloss Varnish to make sure they stay securely fixed.
I also used the diamond dust on the flower petals for a touch of sparkle.
 The fussy cut floral elements and a few pretty blooms were used to accent the gorgeous chipboard frames and designs,
To finish off I added the chipboard title which was coated in gesso, then sprayed with Lindy's Cotton Candy mist.


Dusty Attic Product Used:
Other Product Used:
Prima, Lemoncraft and Blue Fern pp's
Green Tara Blossoms - pink
Couture Creations Magnolia Lane flower
Lindys Cotton Candy Starburst Spray
Prima Wire Thread - Sprout and Sweet Pink
Prima Stamp Set
Prima Gesso
Martha Stewart lace border punch
Tim Holtz Hickory Smoke Distress Ink
Diamond Dust
Seed Beads
Kaisercraft rubon

Thanks so much for taking the time to stop by.
Happy Crafting :)

Saturday, November 5, 2016

Dusty Attic November Mood Board Challenge

Hi everyone,

We have a gorgeous new Mood Board Challenge for this month at The Dusty Attic... my favourite colours!!  Why not join us to be in for your chance to win a fabulous $100 prize voucher!! 


I absolutely adored creating with this month's Mood Board, as teal, aqua and green make the most beautiful colour palette, especially when combined with white... so fresh and pretty!!

"Beautiful Dreamer"
For my layout, I was inspired by the Mood Board pic of the flowers and humming bird, the script background on the dragonfly pic and all the frames and of course the beautiful colour palette.

To create my background I applied Dusty Attic Texture Paste through the Creative Script Stencil, then misted with Lindys Stamp Gang Tibetan Teal and Kaisercraft Lime Green, misting with water first, then applying the mist with a small round brush to create a watercolour effect.

Once dry, using the frames from the Mood Board as inspiration I stamped the background with the Prima stitched squares in teal Archival Ink.

For the top left and bottom right corners I cut up sections from the Ornate Frame #7, coated the pieces with gesso, then applied Dusty Attic Jungle Green acrylic paint.  Once dry I lightly flicked over with watered down Dusty Attic Texture Paste.

I repeated the same process with 1 of the corner flourishes from Corner Flourish #1 Pack.  I cut off the small inner flourish and used it to lengthen the flourish.

The Wrought Iron Fence Border was coated with gesso and altered by threading through with some green twine.

I used 2 different word packs to create my title which I altered by first coating with gesso, then misting with Lindy's Stamp Gang in Tibetan Teal.

For a little dimension and texture I altered my chipboard by adding a few Green Tara flowers and some pretty guipure lace pieces.

To finish off I watered down a little Dusty Attic Clear Gloss Varnish and flicked over my background, making sure to cover my photo.  Whilst the varnish was wet, I applied the Lettuce Entertain You Prills.


Chipboard


Thanks so much for stopping by.

Happy Crafting
Cathy :)


Sunday, October 30, 2016

Dusty Attic DT - Pretty in Pink

Hi Everyone,

Today I am sharing my second layout created for The Dusty Attic, which was inspired by the gorgeous Prima foil accented pp from the Rossibelle Collection, and which in turn inspired me to create with the oh so pretty Heart Attack Panel and beautiful script words from the Word Pack #32 chippies, along with the lovely fern like leaves from the Foliage#4 chipboard pack as well as a few other Dusty Attic chippies and mediums.

"Sweet Memory"
I took this photo of Brittany and our furbaby Finn earlier this year and thought it would be the perfect fit for the cute hearts from the Heart Attack chippie panel.  She adores him and I think if she ever leaves home, I will have to prepare myself to part with my little Finn too!!
To create some softness and a bit of contrast for all the pink tones, I used Dusty Attic Texture Paste on my background, by applying with a palette knife.

 To show the love Brittany has for Finn, I used the sweet little hearts from the small Heart Attack Panel
I cut the hearts from the panel into smaller sections and painted them with Dusty Attic Dusty Pink acrylic paint mixed with a bit of Dusty Attic Cranberry acrylic paint, then randomly applied gold microbeads with Dusty Attic Clear Gloss Varnish to add texture and tie in with the gold foil fussy cut accents.

For a little contrast I painted leaves from the Foliage #4 pack by mixing a little Dusty Attic Pesto acrylic paint into Dusty Attic Jungle Green acrylic paint and tucked them in amongst my flower clusters long with a few of the small blooms from the Dusty in Bloom Evening Blush flower pack.
I really love the script words, such a gorgeous font!!  I have used the 'sweet' and 'memory' words from the Word Pack #32 to create my title, which I painted with Dusty Attic Cranberry acrylic paint mixed with a hint of the Dusty Attic Dusty Pink acrylic paint.
I love using quotes to convey a sentiment, and the Quoted Sentiments #1 chippies are just perfect if you are not into journaling on your pages.  I have used one from the pack which says 'the best thing to hold onto in life is each other" and also a cute 'adore' tag from the Word Tags #1 which I inked in Aloe Vera Versamagic. 

To finish off, I mixed the Jungle Green acrylic paint with a little water to flick onto my background.


Chipboard


Thanks for stopping by.

Happy crafting
Cathy :)