Hi all, Cathy here sharing my January Mood Board Challenge creation.
This year the monthly challenges at The Dusty Attic have an added bonus. You can now use the sketch with the Mood Board, just the Mood Board or just the sketch. How gorgeous is the first Mood Board/Sketch Challenge for this month!!! Don't you just love the beautiful blue tones and delicious textures as well as the fabulous sketch!!
"Explore"


I was inspired by the sketch as well as the blue tones from the Mood Board.
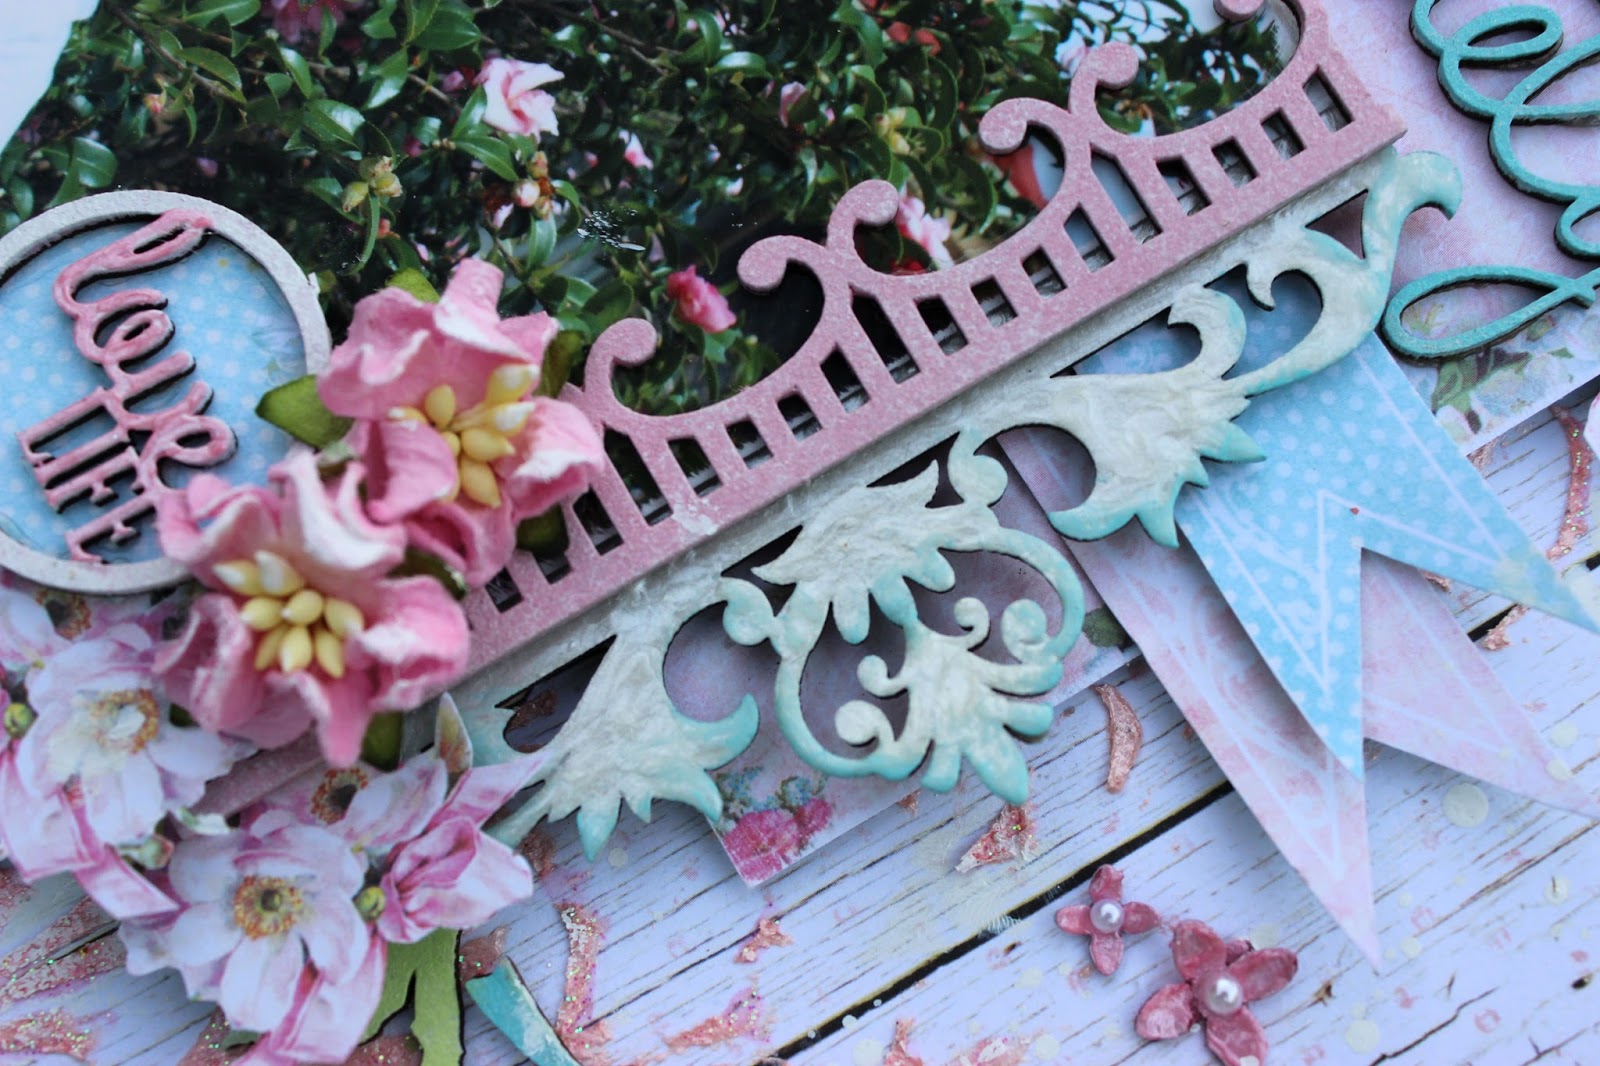
 When creating my layouts, one of my must haves are stencils. I love to create texture and dimension on my backgrounds using stencils and some form of mixed media. For this layout I have used the gorgeous new Dusty Attic Scribble Circles Stencil. It has a lovely grungy feel, so I decided to team it with white crackle medium, then stamped over the top with a water droplet stamp from Katzelkraft and a few random splatters of Izink (a fabulous glossy metallic medium).
I layered various pp's and DA Corrugated Card with foam tape to frame my photo, then tucked in a few beach stickers from Creative Imaginations. The corrugated card was coated with gesso, then randomly painted with Luminarte Primary Elements in Bolivian Blue, which I mixed with water in a Mini Spritz Bottle.
 To frame my photo I used the new Mini Chains chippies. which I coated with gesso, then randomly dabbed over with Dusty in Colour Denim, as well as a few touches of Izink. There are 2 different styles of chain in the pack. I also used the smaller chain on one of my paper layers and altered it the same way.
How cute are the Mini Shells chippies!! Just the thing to add to your layers when creating a beach layout. I used the seahorse to add a cute embellishment to my tag. I coated it with Dusty in Colour Denim first, then painted over with Izink. For a bit of texture I applied some mixed seed beads, which I adhered with Dusty Attic Clear Gloss Varnish. To add a bit more depth, I very lightly swiped over the beads with gesso.
 I altered the Blueprints Explore chippie the same way as the seahorse, but added a little more gesso to the edges to create depth. To create the waves I
 To create the cluster at the top right of my layout I used the Compass Rose chippie, as well as one of the Page Pebbles #7, and a circle punched from the medallion pp. The Compass Rose chippie was altered by coating with gesso, then painting the S E W and fleur de lis with Izink to make them pop. I layered the centre of the rose with a sticker and one of the phrases from the Wordpl@y #7.

I also used the little starfish and scallop shell from the Mini Shells chippies in my little cluster at the bottom of my layout. To create the effect of waves around my layers and the Explore title I used the smaller sections of the Elegant Swirls #3 and cut apart one of the larger sections, painted with gesso, then coated with Dusty Attic Clear Gloss Varnish. I applied some mixed seed beads, with Clear Gloss Varnish inside the swirls of the waves and very lightly swiped over the beads with gesso.
To finish off I randomly stamped around my pp layers with the coral stamp from the Kaisercraft Mermaid Tales set, then applied some Prima Say it in Crystals for a touch of sparkle and shine.
Blueprint Explore - DA1430
 When creating my layouts, one of my must haves are stencils. I love to create texture and dimension on my backgrounds using stencils and some form of mixed media. For this layout I have used the gorgeous new Dusty Attic Scribble Circles Stencil. It has a lovely grungy feel, so I decided to team it with white crackle medium, then stamped over the top with a water droplet stamp from Katzelkraft and a few random splatters of Izink (a fabulous glossy metallic medium).
I layered various pp's and DA Corrugated Card with foam tape to frame my photo, then tucked in a few beach stickers from Creative Imaginations. The corrugated card was coated with gesso, then randomly painted with Luminarte Primary Elements in Bolivian Blue, which I mixed with water in a Mini Spritz Bottle.
 To frame my photo I used the new Mini Chains chippies. which I coated with gesso, then randomly dabbed over with Dusty in Colour Denim, as well as a few touches of Izink. There are 2 different styles of chain in the pack. I also used the smaller chain on one of my paper layers and altered it the same way.
How cute are the Mini Shells chippies!! Just the thing to add to your layers when creating a beach layout. I used the seahorse to add a cute embellishment to my tag. I coated it with Dusty in Colour Denim first, then painted over with Izink. For a bit of texture I applied some mixed seed beads, which I adhered with Dusty Attic Clear Gloss Varnish. To add a bit more depth, I very lightly swiped over the beads with gesso.
 I altered the Blueprints Explore chippie the same way as the seahorse, but added a little more gesso to the edges to create depth. To create the waves I

I also used the little starfish and scallop shell from the Mini Shells chippies in my little cluster at the bottom of my layout. To create the effect of waves around my layers and the Explore title I used the smaller sections of the Elegant Swirls #3 and cut apart one of the larger sections, painted with gesso, then coated with Dusty Attic Clear Gloss Varnish. I applied some mixed seed beads, with Clear Gloss Varnish inside the swirls of the waves and very lightly swiped over the beads with gesso.
To finish off I randomly stamped around my pp layers with the coral stamp from the Kaisercraft Mermaid Tales set, then applied some Prima Say it in Crystals for a touch of sparkle and shine.
Blueprint Explore - DA1430


Corrugated Cardboard - DA0830


PRODUCT USED
Dusty Attic
Corrugated Cardboard - DA0830
Other
WRMK, Authentique and Prima pp's
Creative Imaginations Beach stickers
Prima Say It In Crystals Aquarmarine
Prima White Crackle Medium
Prima Gesso
Kaisercraft Mermaid Tales Stamp Set
Katzelkraft water droplets stamp
Compass metal charm
Ranger Archival Ink Cobalt
Izink - volubilis
Luminarte Primary Elements - Bolivian Blue
Heidi Swapp Color Shine - Ocean
Seed Beads
Seed Beads
Stickles - blue
Thanks so much for taking the time to stop by.

Happy Crafting :)