Hi Everyone,
Today I have my projects created with the
Kaisercraft new release
"True Love" and
"#Me" Collections as well as a
Step by Step Tutorial on a misting technique with glad wrap using some of the gorgeous
newly released Kaisermist colours.
First up I have my creations using the beautiful "True Love" Collection, which has a romantic theme with soft and pretty watercolour florals, lacey hearts and a lovely array of quotes for that someone special in your life. I have also used this collection for my
step by step misting tutorial.
Cling
Wrap Mist Tutorial
“Be Happy Be Bright Be You”
For my tutorial I thought I would share a
simple but very effective technique using glad wrap
and some of the newly released Kaisermists. All you need are a few mists, in various colours that complement each other, a piece of cardstock/pp, gesso, and glad wrap. I have used the new Candy and White Kaisermists, along with the Red, Peach and Pink from the previous release.
To start, coat your background cardstock/pp with gesso. The gesso stops the mist from absorbing straight into the paper. I have used white cardstock, so that the marbling effect of the misting technique really pops. If you are going to use patterned paper, it looks better if you choose a pale coloured pp with a very subtle pattern to it. I find the heavier weight of cardstock works better.
Dry off thoroughly with a heat gun, then mist generously with your lightest colour first, through to your darkest colour.
Tear a piece of glad wrap with about 45cm long, then apply over your misted area, crumpling the glad wrap as you go. This will need to dry overnight or a couple of hours outside in the sunlight.
Once dry, just peel away the glad wrap and you have a gorgeous marble-toned background!!
Cut off the diagonal strip from the reverse side of the "My Baby" pp and tear diagonally down to form a large corner piece, then cut and tear another smaller corner piece. Tear strips from the "My Precious" pp to fit under the corner pieces and adhere. Tear lengths of mint glitter tape and affix to corners, then using the hessian texture stamp and lagoon ink pad stamp randomly around the edges.
Fussy cut the flowers and leaves from the reverse side of "My Soulmate" pp.
Affix the large torn corner section to the right-hand side of your background and the smaller torn corner to the bottom left side of your background.
Diecut a section from the Butterfly Cardfront Decorative Die from the green "My Baby" pp so that you have 3 butterflies. Coat with PVA glue and sprinkle with glitter. Diecut the Be Happy Decorative Die from the peach side of the "My Love" pp.
Adhere your photo, then arrange and adhere the fussy cut pieces, butterflies, rhinestone flourishes around the left-hand side of your photo. Top your butterflies with fern sparklets and randomly adhere sequins and beads around your flower cluster. Finish off by adding the heart collectables with sticker phrases on the bottom right of your photo and adhering your diecut Be Happy title.
Kaisercraft Product: True Love - Paper - P2025 My Love, P2029 My
Baby, P2031 My Precious, P2033 My Soulmate | CT847 Collectables | SS304 12x12
Sticker Sheet | CD101 Weave Cardstock - Coconut | Kaisermist – KM107 Peach,
KM109 Red, KM110 Pink, KM111 White, KM115 Candy | Decorative Dies DD356 Be
Happy, DD725 Butterflies Cardfront C6 | RS475 Rhinestone Flourishes - Decorative Ice | RS419 Sparklets - Fern | CS153 Texture Stamp - Hessian | IP727 Ink Pad - Lagoon | PT228 Glitter Tape - Mint | T303 Foam Tape |
Other Product: DM-1MM2M10
Derivan Gesso, cling wrap, extra fine glitter, sequin bead mix
Hope you enjoyed my tutorial. There are endless colour variations you can try with this technique to match your pp's and this would make a fabulous background for cards as well.
“So
Many Beautiful Moments”
This layout was created using the gorgeous Specialty Diecut Paper and Collectables.
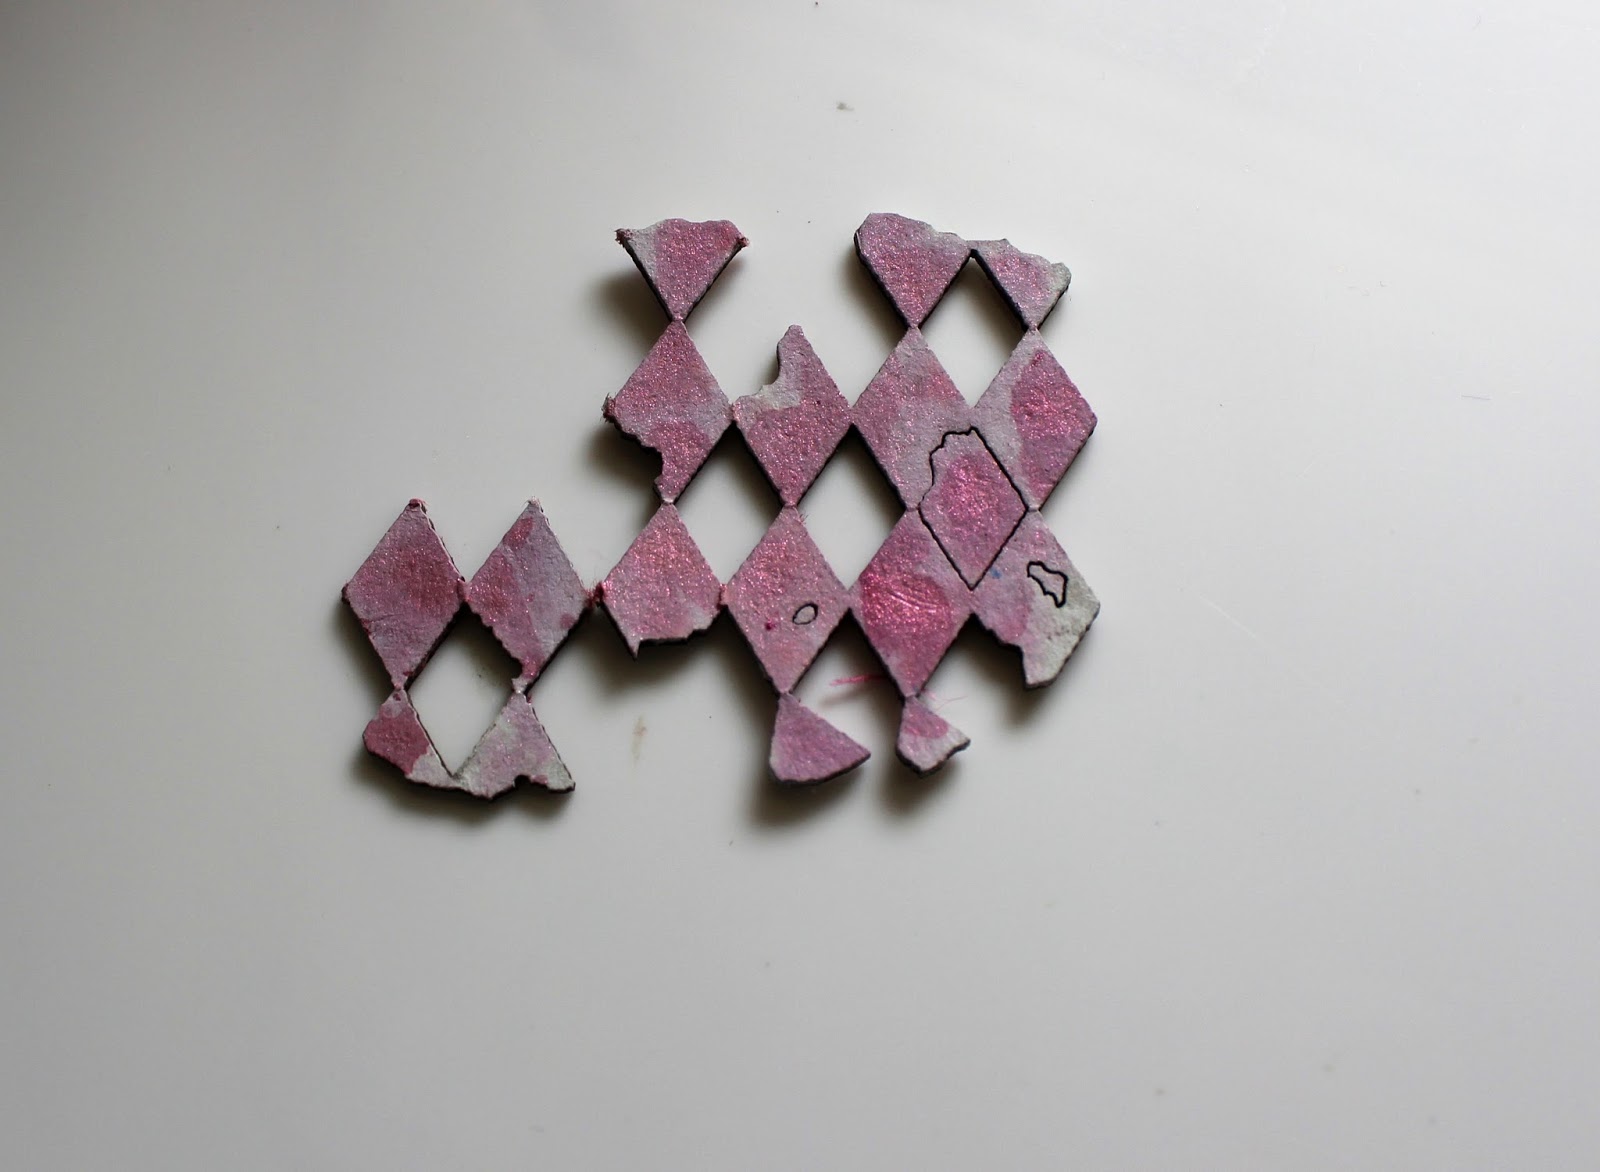
The background was created by diecutting the Lattice C6 Decorative Die to use as a mask, with extra light modelling paste. Once dry I outlined with a black fineliner pen, then randomly flicked with Apple and Lime Kaisermist over the masked area.
Kaisercraft Product: True Love - Paper | PS438 Specialty Diecut –
Wreath, P2025 My Love, P2030 My Honey | CT847 Collectables | SS304 12x12
Sticker Sheet | Kaisermist – KM117 Apple, KM104 Lime | DD709 Decroative Die - Lattice C6 | T303 Foam Tape | Other Product: DM-1MM2M32 Derivan Light
Modelling Paste | fineliner pen
“You
are Truly Fabulous"
How gorgeous is the new release Vintage Keys Decorative Die!! I have used it with the C6 Lattice and Butterflies Decorative Dies cut from the reverse side of the "My Friend" pp to create a pop of colour and contrast on the fresh and crisp "My Sweetheart" pp.
Kaisercraft Product: True Love - Paper | P2026 Sweetheart, P2028 My
Friend, P2029 My Baby | PP988 6.5” Paper Pad | CT847 Collectables | SS304 12x12
Sticker Sheet | CD102 Cardstock Weave – Licorice | Decorative Dies - DD725 Butterflies C6, DD738 Vintage Keys,
DD799 Lattice C6, DD703 Fabulous | KM104 Kaisermist – Lime | CS853 Texture
Stamp – Flutter | IP719 Ink Pad – Black | T303 Foam Tape | KC001 Kaisercolour - White
With Valentine's Day fast approaching, which not make a handmade card for that special someone in your life.
“I
Love You”
Kaisercraft Product: True Love - Paper | PP988 6.5” Paper Pad | CT847
Collectables | SS304 12x12 Sticker Sheet | KM115 Kaisermist – Candy | DD110
Decorative Die – Birds and Butterflies | RS415 Sparklets - Princess | CD512 C6
Card Pack – Kraft | T303 Foam Tape
True Love Collection

The second new release collection for January is the motivational
"#Me". This collection puts the spotlight on creating layouts with the focus on YOU and has a beautiful soft green, blue and yellow colour palette.
“Unique”
The leaf flourishes in my flower clusters were created with one of the new
Die and Stamp Decorative Dies (Rose) which I stamped and diecut, then outlined the leaves with a black fineliner pen.
Kaisercraft Product: #Me - Paper - P2034 Confidence, P2036 Belief,
P2037 Strength | CT848 Collectables | Kaisermist - KM117 Apple, KM116 Aqua |
Decorative Dies – DD342 Heart Borders, DD547 Circle Vines | DD901 Decorative
Die and Stamp - Rose | FL482 Wooden Flourishes – Unique | CS152 Textures Stamp
– Diamonds | F630 Paper Blooms - Iceberg | F644 Mini Paper Blooms – Coconut | T303
Foam Tape | Other Product: |
fineliner pen, ink
“BTP
Ladder Shelf”
A quick and easy project creating this cute Ladder Shelf to store and have ease of access for some of your smaller items.
Kaisercraft Product: SB2398 BTP Ladder Shelf | #Me - Paper - P2034
Confidence, P2035 Positivity, P2040 Goals, P2041 Dreams | CT848 Collectables |
KM117 Kaisermist – Apple | Decorative Dies – DD342 Heart Borders, DD547 Circle
Vines | DD901 Decorative Die and Stamp - Rose | CS152 Textures Stamp – Diamonds
| T303 Foam Tape | Other Product: |
fineliner pen, ink
”Happy
Birthday”
Kaisercraft Product: #Me - Paper - P2040 Goals | PP988 6.5” Paper
Pad | DD547 Decorative Die – Circle Vines | IP719 Ink Pad – Black | CD501 Card
Pack – Square White | T303 Foam Tape
#ME Collection
Thanks so much for stopping by :)